
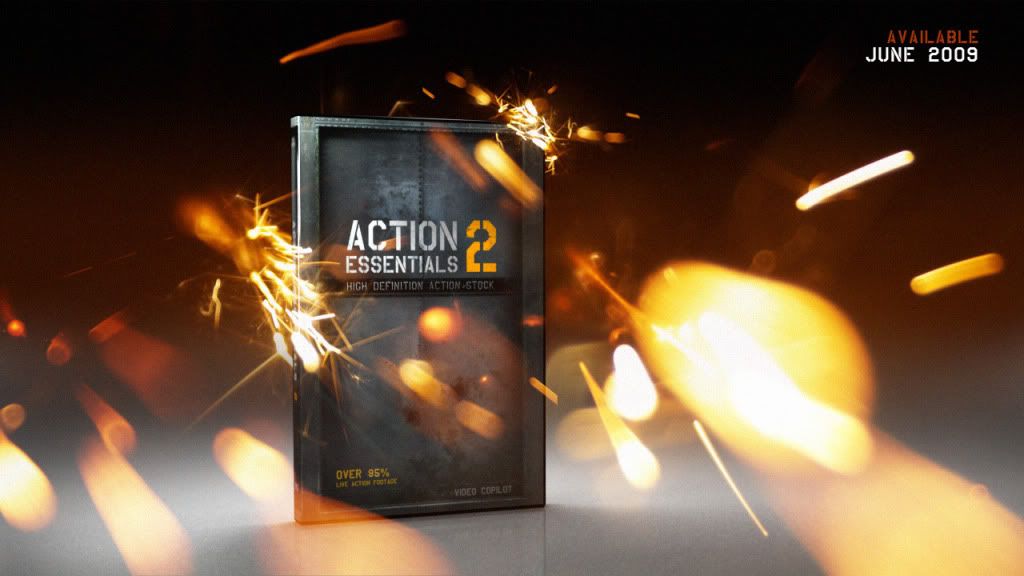
FEATURING: • 20 Categories of FX • 500 Pre-Keyed High Definition Elements • Available in 2 Versions: 2K and 720p • 60 Minutes of After Effects Training • 20 Bonus Action Sound FX • Detailed Video Thumbnails • Over 90% Live Action Footage What is Action Essentials 2? Action Essentials 2 is a collection of stock footage elements for compositing. Ideal for visual effects & motion graphics Download:
http://hotfile.com/dl/9293408/f56e11e/TDA_AE_HD.part01.rar.html http://hotfile.com/dl/9293441/5130009/TDA_AE_HD.part02.rar.html http://hotfile.com/dl/9293466/5fe515a/TDA_AE_HD.part03.rar.html http://hotfile.com/dl/9293488/54acebd/TDA_AE_HD.part04.rar.html http://hotfile.com/dl/9293506/3a1ad19/TDA_AE_HD.part05.rar.html http://hotfile.com/dl/9293521/ab1f9f3/TDA_AE_HD.part06.rar.html http://hotfile.com/dl/9293544/b0e6240/TDA_AE_HD.part07.rar.html http://hotfile.com/dl/9293569/dfea405/TDA_AE_HD.part08.rar.html http://hotfile.com/dl/9293591/fd6579d/TDA_AE_HD.part09.rar.html http://hotfile.com/dl/9293603/b962565/TDA_AE_HD.part10.rar.html http://hotfile.com/dl/9293628/3b3e089/TDA_AE_HD.part11.rar.html http://hotfile.com/dl/9293642/e307e9d/TDA_AE_HD.part12.rar.html http://hotfile.com/dl/9293657/a4b3b4b/TDA_AE_HD.part13.rar.html http://hotfile.com/dl/9293672/3c7eaf8/TDA_AE_HD.part14.rar.html http://hotfile.com/dl/9293697/2dc40f0/TDA_AE_HD.part15.rar.html http://hotfile.com/dl/9293720/d08c88c/TDA_AE_HD.part16.rar.html http://hotfile.com/dl/9293752/4256b31/TDA_AE_HD.part17.rar.html http://hotfile.com/dl/9293782/b088dbc/TDA_AE_HD.part18.rar.html http://hotfile.com/dl/9293805/f45a235/TDA_AE_HD.part19.rar.html http://hotfile.com/dl/9293824/207805a/TDA_AE_HD.part20.rar.html http://hotfile.com/dl/9293889/710d6f7/TDA_AE_HD.part21.rar.html http://hotfile.com/dl/9293908/f9fc51b/TDA_AE_HD.part22.rar.html http://hotfile.com/dl/9293927/bf67561/TDA_AE_HD.part23.rar.html http://hotfile.com/dl/9293952/84c5745/TDA_AE_HD.part24.rar.html http://hotfile.com/dl/9293967/dff4b76/TDA_AE_HD.part25.rar.html http://hotfile.com/dl/9293993/25a7721/TDA_AE_HD.part26.rar.html http://hotfile.com/dl/9294017/0891ef2/TDA_AE_HD.part27.rar.html http://hotfile.com/dl/9294044/809e751/TDA_AE_HD.part28.rar.html http://hotfile.com/dl/9294063/cb22648/TDA_AE_HD.part29.rar.html http://hotfile.com/dl/9294078/ae8bd47/TDA_AE_HD.part30.rar.html http://hotfile.com/dl/9294120/e835231/TDA_AE_HD.part31.rar.html http://hotfile.com/dl/9294145/2650c37/TDA_AE_HD.part32.rar.html http://hotfile.com/dl/9294166/c647713/TDA_AE_HD.part33.rar.html http://hotfile.com/dl/9294190/94ca974/TDA_AE_HD.part34.rar.html http://hotfile.com/dl/9294304/bd041df/TDA_AE_HD.part35.rar.html http://hotfile.com/dl/9294333/ced93a3/TDA_AE_HD.part36.rar.html http://hotfile.com/dl/9294354/6666dc8/TDA_AE_HD.part37.rar.html http://hotfile.com/dl/9294373/17a7dc5/TDA_AE_HD.part38.rar.html http://hotfile.com/dl/9294387/3aa9152/TDA_AE_HD.part39.rar.html http://hotfile.com/dl/9294405/6e7bfa4/TDA_AE_HD.part40.rar.html http://hotfile.com/dl/9294640/358fecd/TDA_AE_HD.part41.rar.html http://hotfile.com/dl/9294677/0ed6590/TDA_AE_HD.part42.rar.html http://hotfile.com/dl/9294715/2f2d708/TDA_AE_HD.part43.rar.html http://hotfile.com/dl/9294756/cc5cb7e/TDA_AE_HD.part44.rar.html http://hotfile.com/dl/9294778/220d097/TDA_AE_HD.part45.rar.html http://hotfile.com/dl/9294801/c3b0503/TDA_AE_HD.part46.rar.html http://hotfile.com/dl/9294836/7f08692/TDA_AE_HD.part47.rar.html http://hotfile.com/dl/9294863/52d7007/TDA_AE_HD.part48.rar.html http://hotfile.com/dl/9294883/21395b3/TDA_AE_HD.part49.rar.html http://hotfile.com/dl/9294907/5de1b47/TDA_AE_HD.part50.rar.html http://hotfile.com/dl/9303656/523a20f/TDA_AE_HD.part51.rar.html http://hotfile.com/dl/9303672/e48bbca/TDA_AE_HD.part52.rar.html http://hotfile.com/dl/9303694/6cc55a0/TDA_AE_HD.part53.rar.html http://hotfile.com/dl/9303716/c68c9e3/TDA_AE_HD.part54.rar.html http://hotfile.com/dl/9303736/2b239bd/TDA_AE_HD.part55.rar.html http://hotfile.com/dl/9303756/35b8ac6/TDA_AE_HD.part56.rar.html http://hotfile.com/dl/9303784/35e6f74/TDA_AE_HD.part57.rar.html http://hotfile.com/dl/9303812/cfcbb50/TDA_AE_HD.part58.rar.html http://hotfile.com/dl/9303840/1b97eb2/TDA_AE_HD.part59.rar.html http://hotfile.com/dl/9303868/4a869d0/TDA_AE_HD.part60.rar.html http://hotfile.com/dl/9303917/ce40fe6/TDA_AE_HD.part61.rar.html http://hotfile.com/dl/9303934/257e557/TDA_AE_HD.part62.rar.html http://hotfile.com/dl/9303964/11dbb50/TDA_AE_HD.part63.rar.html http://hotfile.com/dl/9303994/c83d8f2/TDA_AE_HD.part64.rar.html http://hotfile.com/dl/9304024/b68d9a6/TDA_AE_HD.part65.rar.html http://hotfile.com/dl/9304049/a7a031f/TDA_AE_HD.part66.rar.html Tutorial http://hotfile.com/dl/9304353/2218125/TDAs_Tutorial_Complete.part1.rar.html http://hotfile.com/dl/9304368/4ecd494/TDAs_Tutorial_Complete.part2.rar.html http://hotfile.com/dl/9304384/a90e589/TDAs_Tutorial_Complete.part3.rar.html http://hotfile.com/dl/9304396/07b5ff9/TDAs_Tutorial_Complete.part4.rar.html


